Django: rapid development and clean, pragmatic design
Ever thought about making a stunning new website in weekend but couldn’t?
Ever your project got stuck because you couldn’t handle the server-side work?
Ever ran “out of time”?
I know your answer to all of them is a big YES!
Well, here comes Django to save us all from those evil happenings.
Hey, i’ve never heard of any applications using Django, do you really think this can help me?
YES! A lot of big landlords in the Silicon Valley are using Django.
For example?
Well… Instagram uses it, Spotify does too and so does Disqus which actually is the largest Django project till date.
This Django sounds fun, professional and profitable, how do i start using it?
Installation:#
It’s as easy as blinking your eye, Take my word for it!
Prerequisites:
You must have python 3.x.y installed already.
You must have the latest version of* pip *installed on it.
If you don’t have python already installed you can go here and for pip here.
How to install it?
Just type in **pip install django in the terminal and, VOILA!
Any special recommendations?
I’d recommend you install it in a virtual environment instead of installing it system-wide, read more about virtual environments here.
Implementation:#
So now that you have Django installed, let’s make something using it!#
How about a blog post web-app?
Sure, works out for me.
Creating a project#
**$** django-admin startproject mysite
Starter files?
    mysite/
        manage.py
        mysite/
            __init__.py
            settings.py
            urls.py
            wsgi.py
What do they mean?
The outer mysite/ root directory is just a container for your project. Its name doesn’t matter to Django; you can rename it to anything you like.
manage.py: A command-line utility that lets you interact with this Django project in various ways. You can read all the details aboutmanage.py in django-admin and manage.py.
The inner mysite/ directory is the actual Python package for your project. Its name is the Python package name you’ll need to use to import anything inside it (e.g. mysite.urls).
mysite/init.py: An empty file that tells Python that this directory should be considered a Python package. If you’re a Python beginner, read more about packages in the official Python docs.
mysite/settings.py: Settings/configuration for this Django project. Django settings will tell you all about how settings work.
mysite/urls.py: The URL declarations for this Django project; a “table of contents” of your Django-powered site. You can read more about URLs in URL dispatcher.
mysite/wsgi.py: An entry-point for WSGI-compatible web servers to serve your project. See How to deploy with WSGI for more details.
Source: djangoproject.com
Starting the web server:#
Once you’re in the mysite directory, type in command line or terminal.
$ python manage.py runserver
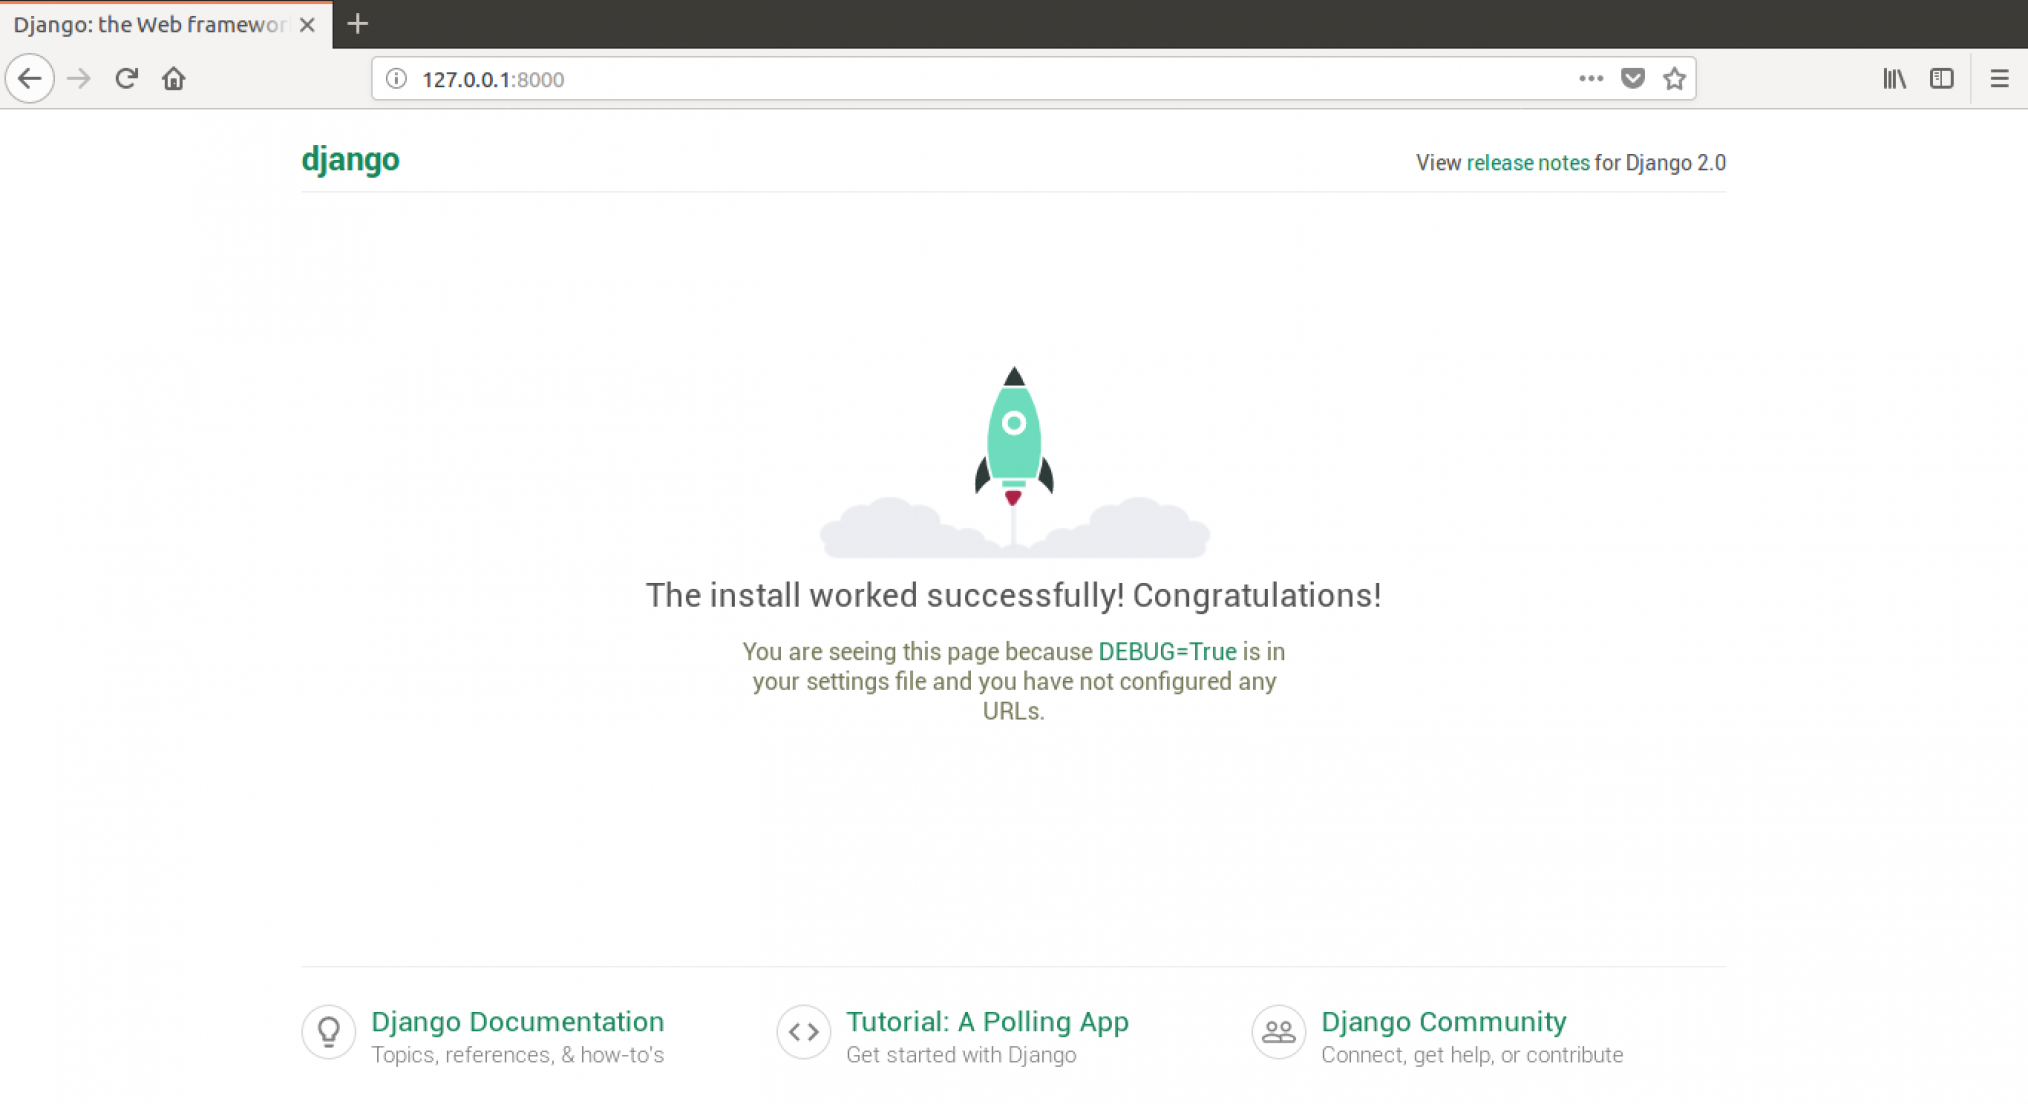
After you run the command, to check if the server is running go to http://127.0.0.1:8000/ from your desired browser, it should look something like this.
Making the blog app#
We will use Django models for saving every blog post, a Django model is basically an Object with has it’s own attributes and functions and for a blog we should be needing attributes such as: Title, Body, Header, Footer, Author, Date created, Date published. and a save() function.
To create an app under the project mysite use:
$ python manage.py startapp blog
After creating an application, we also need to tell Django that it should use it. We do that by specifying in the file mysite/settings.py. We need to find INSTALLED_APPS and add a line containing ‘blog’, just above ]. So the final product should look somehting like this:
    INSTALLED_APPS = [
        'django.contrib.admin',
        'django.contrib.auth',
        ...
        'blog',
    ]
the models.py is the file in which we define all our models, let’s define a Post model here.
    from django.conf import settings
    from django.db import models
    from django.utils import timezone


    class Post(models.Model):
        author = models.ForeignKey(settings.AUTH_USER_MODEL, on_delete=models.CASCADE)

        title = models.CharField(max_length=250)
        text = models.TextField()
        created_date = models.DateTimeField(default=timezone.now)
        published_date = models.DateTimeField(blank=True, null=True)

        def publish(self):
            self.published_date = timezone.now()
            self.save()

        def __str__(self):
            return self.title
Let’s add model to the database
$ python manage.py makemigrations blog
then apply the migration file to the database
$ python manage.py migrate blog
How do i add new posts now?
We use Django admin for that, let’s set it up.
edit your admin.py file to this
    from django.contrib import admin
    from .models import Post

    admin.site.register(Post)
Run the server using python manage.py runserver and go to http://127.0.0.1:8000/admin/ from your browser.
You should see something like this.
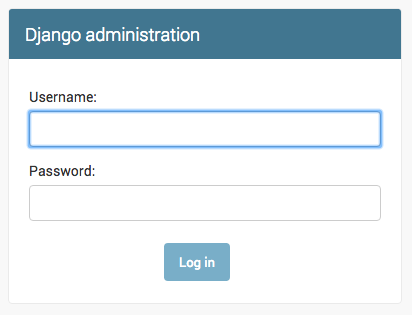
To log in here, you’d need a superuser which has all the permissions on a Django server, let’s create one.
Django superuser#
Create a superuser using python manage.py createsuperuser , now when prompted put in the details and use those details to log in.
After logging in you should see something like this

Hey, it’s the time to add your own post about Django now using the Add button beside Posts!